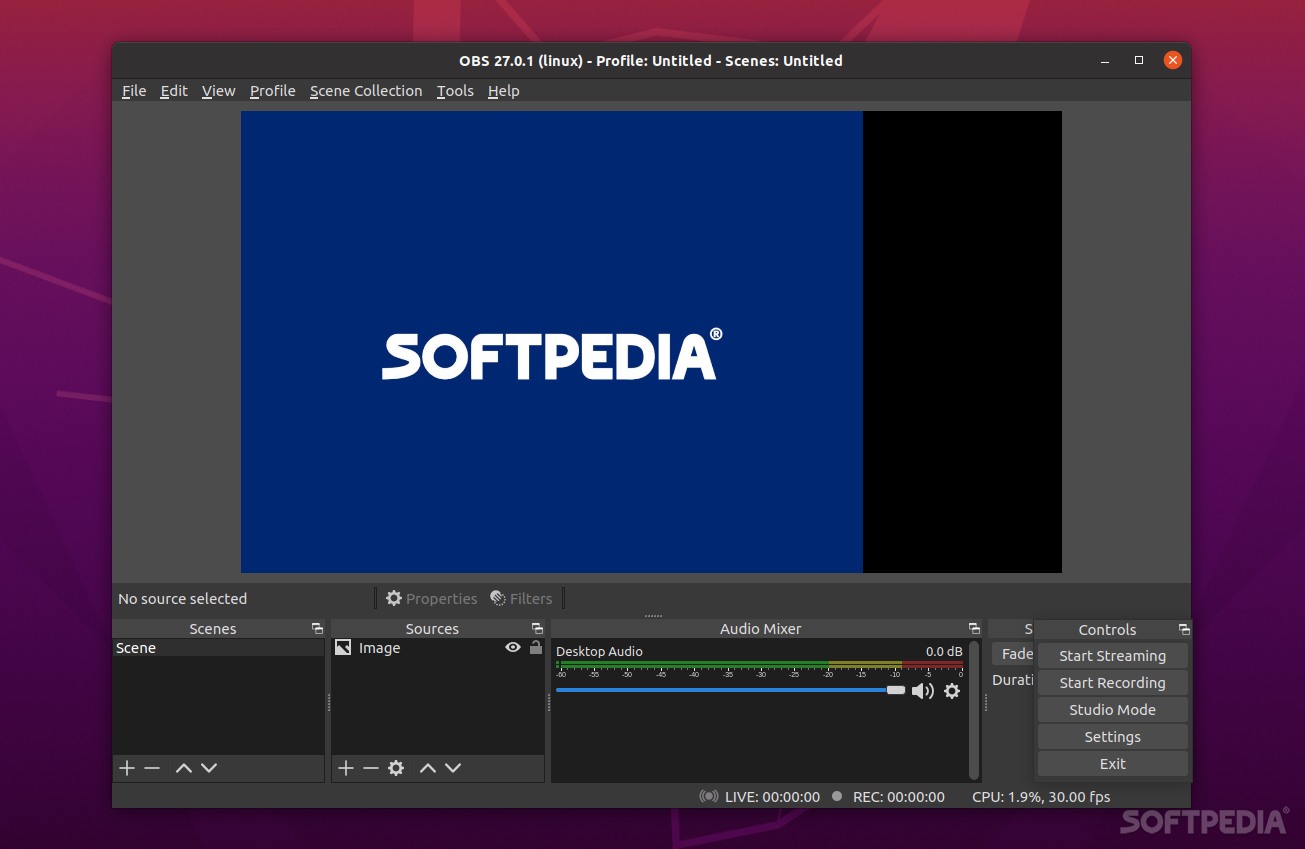

Create stunning video recordings and make your live streams as attractive as possible with the help of the OG screen capture tool – OBS Studio
What’s new in OBS Studio 27.1.2:
- Fixed Browser Source transparency issue [rcdrone]
- Fixed an issue where the main window could not be resized for smaller monitors [Warchamp7]
- Fixed hotkeys failing sometimes when the program was in focus [RytoEX]
- Fixed an issue where the Bandwidth Test checkbox for Twitch would be incorrectly disabled [derrod]
OBS Studio, the software that professional streamers swear by, is without a doubt one of the best screen capture/video recording/live streaming tools out there.
It’s an open-source and free tool that’s capable of great things if one takes the time to properly set it up. OBS Studio can broadcast your live sessions or game streams to platforms such as Twitch, YouTube Live, Facebook Live, and so forth.
How to install and get started with OBS Studio
In order to get OBS Studio up and running on your Linux computer, you have to first install FFmpeg. Then it’s a matter of checking out the detailed installation instructions provided by OBS Studio’s official website.
OBS Studio is renowned for having somewhat of a steep learning curve, however, thankfully, it includes a start wizard to help you optimize and set it up for all streaming and video recording needs.
Even though there are a lot of aspects to be taken into account when starting out with OBS Studio, they all revolve around the fact that you have to create a so-called “Scene.” This Scene houses all your recording sources (such as watermark, microphone, webcam, and so forth).
Once the basic aspects have been properly specified, you can click the “Start Recording” button and fire up either a game (or whatever else you want to stream or record). Once you’re done, you can close the session by clicking “Stop Recording.”
OBS Studio’s advantages
The main advantage of OBS Studio is its impressive set of features. As mentioned before, there’s very little you can’t do with OBS Studio, and if you’re willing to put in the time to learn its ins and outs, it’s the type of app that will definitely reward you.
It includes high performance, real-time video, and audio capturing and mixing tools. You can set up an unlimited number of scenes (and you can switch between them seamlessly). These scenes can be made up of multiple sources such as window captures, text, browser windows, webcams, images, etc.
The audio mixer is remarkably powerful and has per-source filters such as noise gate, noise suppression, and gain. Another great aspect of OBS Studio is its GUI. In short, the GUI is a sort of modular dock which allows you to rearrange the layout however you want.
You are also provided with various customizable transition effects (when switching between scenes), you can set hotkeys for pretty much any action in OBS Studio, and the Studio Mode is amazing at allowing you to preview scenes and sources before pushing them live.
Powerful and flexible, but not exactly welcoming to new users
We’ve talked about how OBS Studio is quite flexible, and a quick visit to its Settings section will definitely convince you of that fact. Be that as it may, it’s not what one might call an out-of-the-box solution. Literally, everything requires a bit of fine-tuning and tweaking when it comes to OBS Studio, which can be somewhat intimidating for newcomers.
This might be an advantage for some, but OBS Studio does not throw up an in-game, in-session overlay like other, simpler apps. This means that you’ll have to open it up each time you want to start or stop the streaming, which is why OBS Studio usually works best with multi-screen setups.
Verdict
So, what is OBS Studio? It’s an incredible software solution that’s become part of every streamer’s tool set, and for all the good reasons.
It’s definitely a bit of an overkill for users looking for a simple and quick screen recording solution, but it’s absolutely perfect for advanced users/ professional streamers who can make the most out of its remarkably comprehensive feature set.
